Growing your own mushrooms at home is an eco-friendly way to enjoy fresh, gourmet fungi while reducing food miles, packaging waste, and reliance on commercially farmed produce. One of the most sustainable and beginner-friendly methods is the bucket method—a simple, low-tech approach that repurposes food-grade plastic buckets to create a perfect growing environment. This method is ideal for cultivating Oyster mushrooms, Lion’s Mane, and other gourmet varieties with minimal waste.
In this guide, we’ll walk you through how to grow mushrooms in a bucket sustainably, including the best substrates, step-by-step instructions, and eco-friendly tips.
Why the Bucket Method is Sustainable
✅ Reuses Materials – Repurposes food-grade plastic buckets instead of disposable plastic bags.
✅ Reduces Waste – Uses agricultural by-products like sugar cane mulch and coffee grounds as a growing medium.
✅ Minimizes Energy Use – No need for expensive climate control systems; works well in home environments.
✅ Produces Zero-Waste Harvests – Mushrooms can be regrown in the same bucket for multiple flushes, and the spent substrate can be used as compost.
What You Need to Grow Mushrooms in a Bucket
✅ Food-Grade Plastic Bucket (5L-20L) with Lid – Recycled food containers work well, or get a new one from Bunnings.
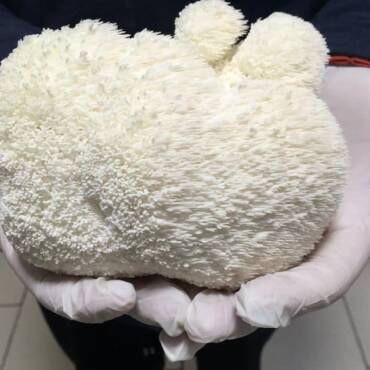
✅ Mushroom Spawn – Oyster mushrooms are the easiest variety for beginners. Get your spawn from Little Acre or Aussie Mushroom Supplies.
✅ Pasteurized Substrate – Choose sustainable materials like:
- Sugar Cane Mulch
- Spent coffee grounds – see your local cafe (must be used within 24 hours
✅ Drill & 12mm Drill Bit – For airflow holes.
✅ Water Spray Bottle – To maintain humidity.
✅ Dark, Well-Ventilated Area – Around 21 – 24°C for optimal incubation – A wardrobe with the door slightly ajar is OK
✅ Light, Well-Ventilated Area – Around 12-24 °C for optimal fruiting – The kitchen is a good place. It’s warm and humid.
Step-by-Step Guide to Growing Mushrooms in a Bucket
Step 1: Prepare Your Bucket
Instructions:
- Drill 12mm holes every 10cm
- Remove any sharp edges with a box cutter
- Drill a hole in the bottom of the bucket
- For draining metabolites and other liquids
- Clean the bucket with Isopropyl alcohol
- Spray inside of the bucket and clean with a paper towel
Step 2: Pasteurise Your Substrate
The substrate is the growing medium that provides nutrients for your mushrooms. Sustainable options include:
- Sugar Cane Mulch – Best for Oyster mushrooms, requires pasteurisation.
- Spent Coffee Grounds – Rich in nutrients but should be mixed with another material like sugar cane mulch.
What You’ll Need:
- A large plastic container or bucket
- Hydrated lime (agricultural lime, NOT quicklime or slaked lime).
- Water
- PH Meter
- Substrate (e.g., sugar cane mulch)
- A weight to submerge the substrate (e.g., a clean brick)
Instructions:
- Prepare the Lime Solution:
- Pour water into a container
- Mix 2-4 grams of hydrated lime per 1 litre of water.
- Stir until fully dissolved.
- After 10 minutes, test with a PH meter between 11 – 13
- Submerge the Substrate:
- Place the dry substrate into the container until fully submerged
- Use a weight to keep the substrate underwater
- Soak for 12–24 Hours:
- Let the substrate sit in the lime solution to neutralise contaminants
- Drain:
- Remove the substrate and drain off excess liquid
- Lightly rinse with clean water to remove excess lime (optional)
- Check Moisture Level:
- The substrate should feel like a wrung-out sponge—moist but not dripping
- Use Immediately:
- Mix with spawn or store in a clean, sealed container until ready to use
Tips:
- Always wear gloves when handling hydrated lime.
- Ensure lime is food-safe and free of harmful additives.
Step 3: Inoculate the Bucket with Mushroom Spawn
- Layer the Spawn and Substrate:
- Layer pasteurised substrate with mushroom spawn at a 5-20% ratio (e.g., 250 – 500 gm of spawn for 5 litres of substrate).
- Start with a handful of substrate, followed by a sprinkling of spawn
- Fill the Container:
- Pack the mixture loosely into the bucket, grow bag, or tub.
- Do not over-compress the substrate – it needs airflow.
Step 4: Incubation (Let the Mycelium Grow!)
- Place the bucket in a dark, warm area (21–25°C).
- The mycelium will colonize the bucket over 2–4 weeks.
- Check for white, web-like mycelial growth—a sign that the substrate is fully colonized.
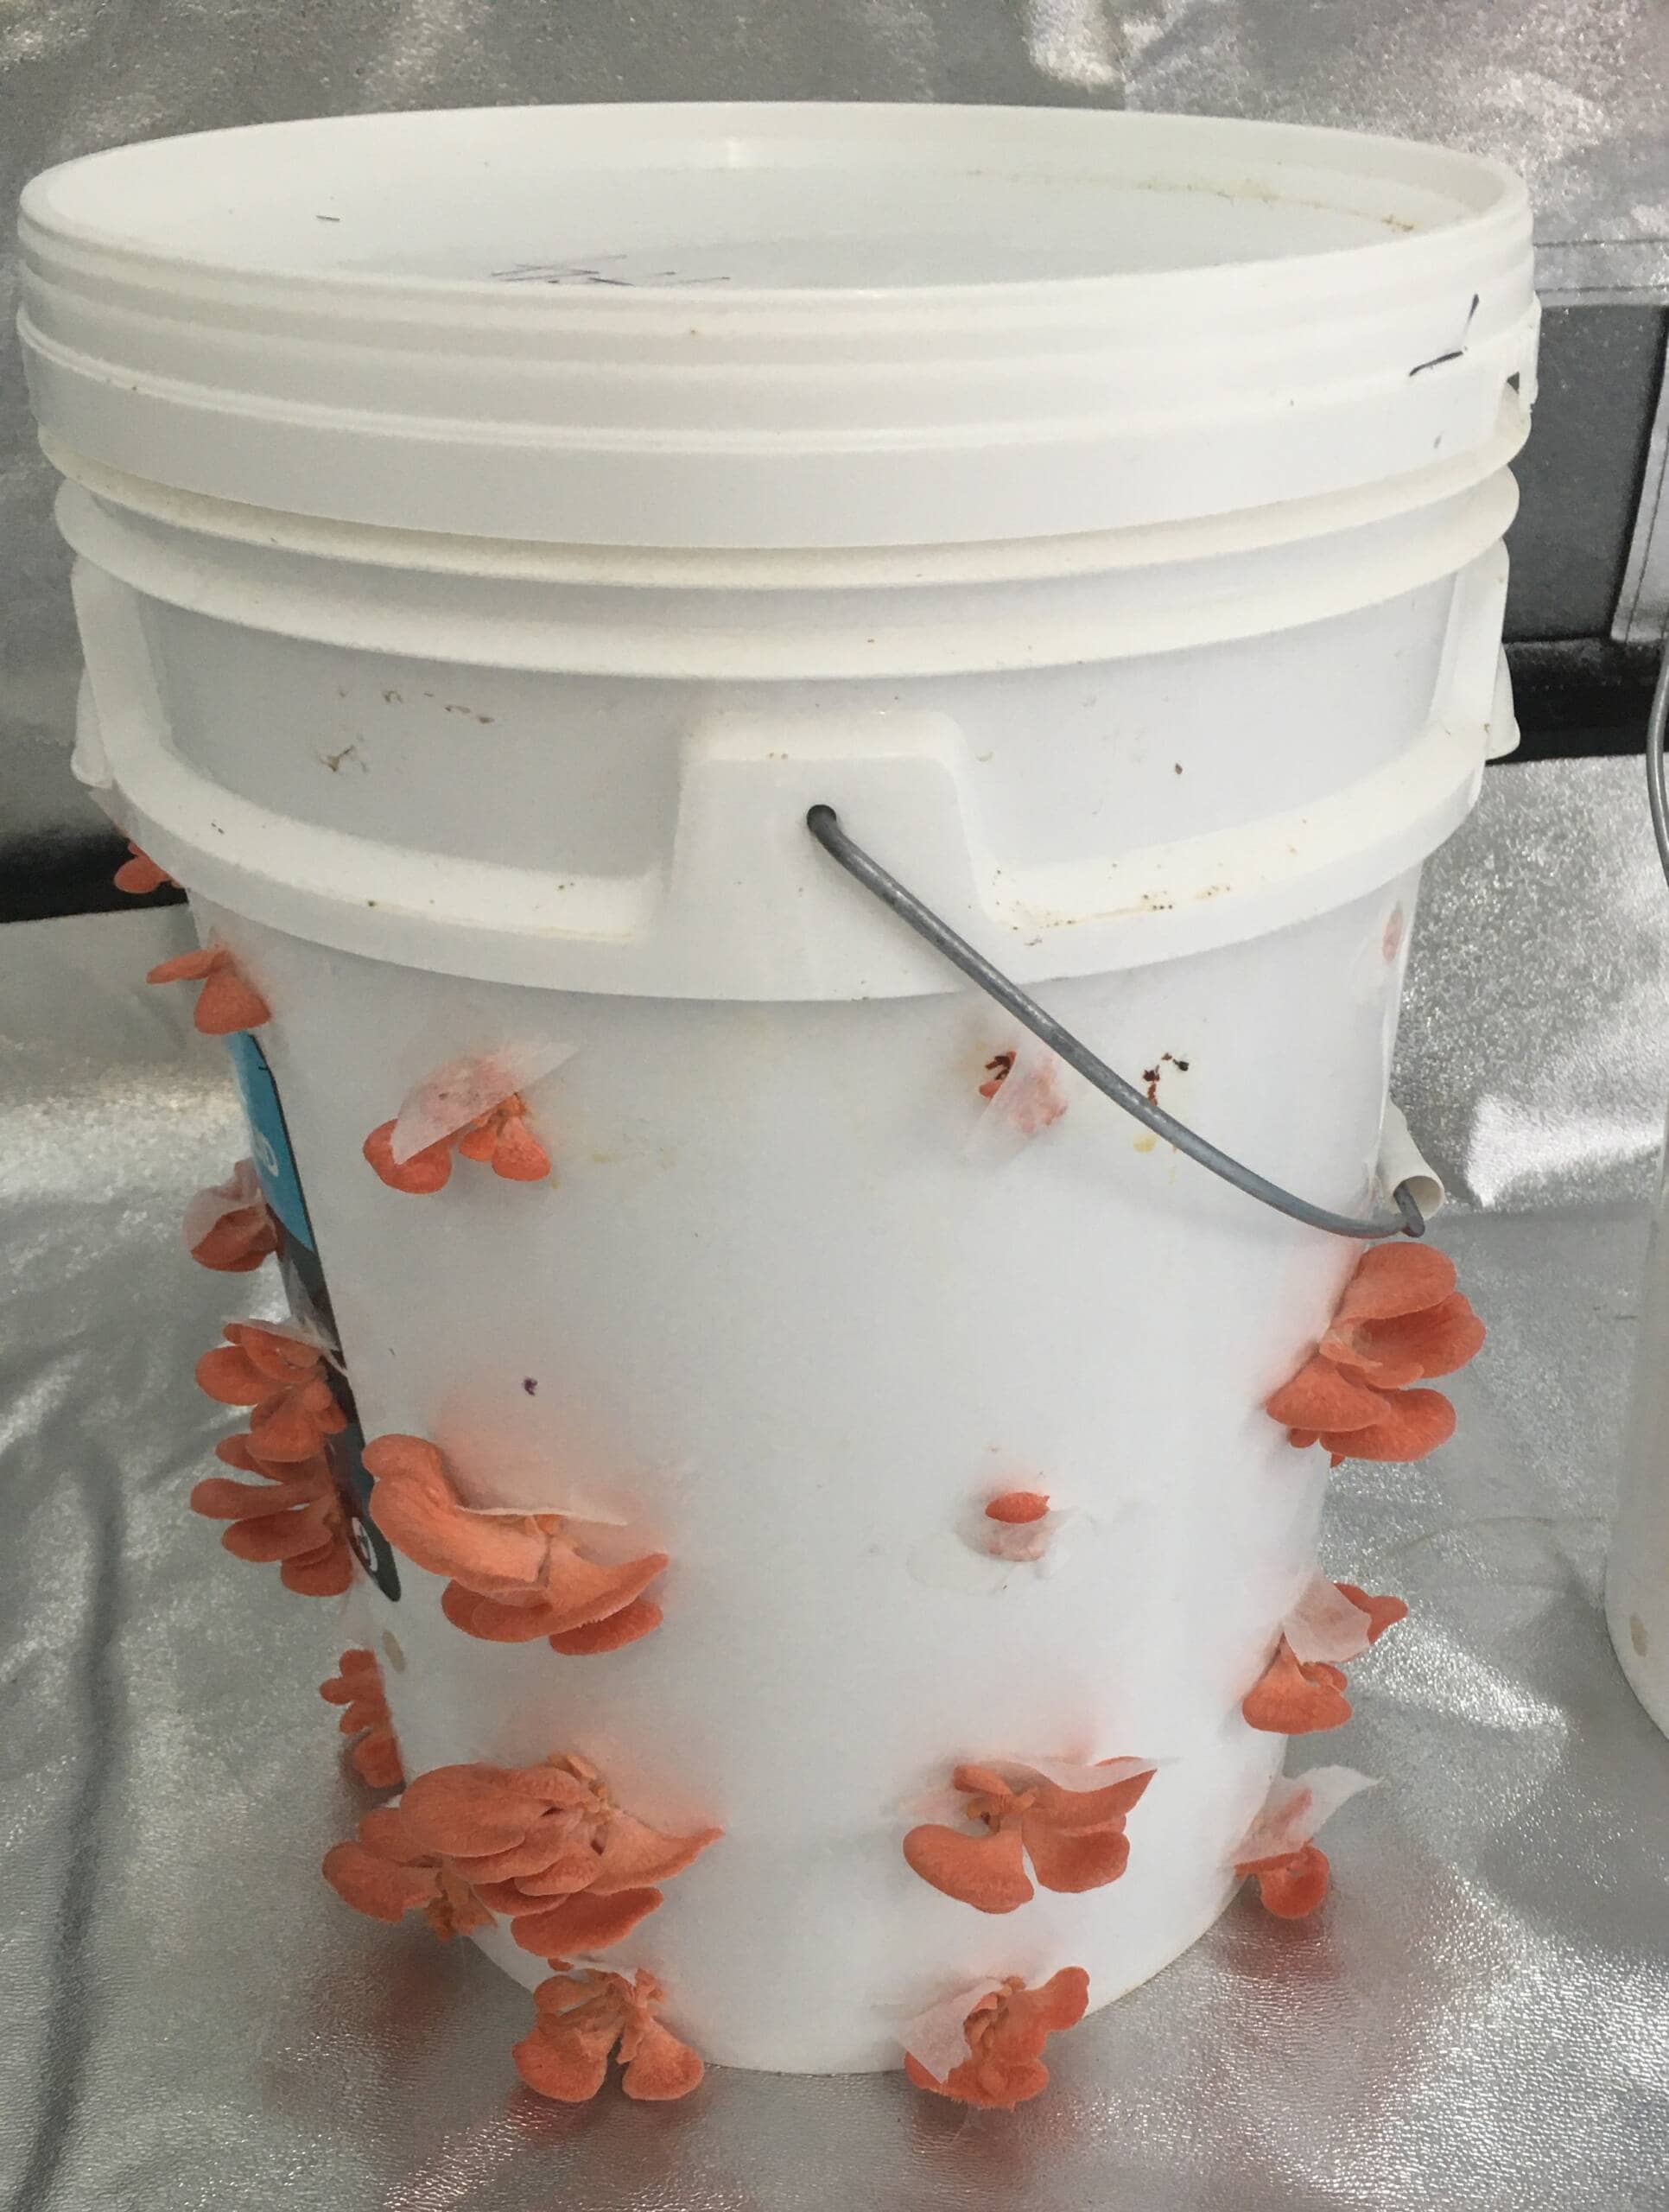
Step 5: Fruiting (Encouraging Mushroom Growth)
Once the bucket is fully colonized, move it to a cooler, humid location with indirect light.
- Temperature: 12–22°C.
- Humidity: 80–90% (mist the bucket daily).
- Within a week, mushrooms will start “pinning” (tiny baby mushrooms).
Harvesting
- Harvest when caps start to flatten but before spores drop.
- Cut mushrooms at the base and store them in a paper bag in the fridge.
Reusing the Bucket & Sustainability Tips
♻️ Multiple Harvests – Your bucket can produce 2–4 flushes of mushrooms before nutrients run out.
♻️ Compost the Spent Substrate – Use it as a soil amendment for your garden.
♻️ Reuse the Bucket – Refill with fresh substrate and new spawn to start again.
♻️ Use Rainwater or Filtered Water – Reduces water waste and contamination risk.
Tips for Success
- If using coffee grounds as a nutrient booster, mix it into the substrate (5-20%) before layering with spawn.
- Keep a logbook of your growing conditions to track progress and troubleshoot issues.
- Always sanitise tools and containers to prevent contamination.
- Rest the mycelium between flushes by retaping and returning to a warm, dark space for a few days.
- Put a tray under the bucket to contain any moisture or metabolites during colonisation and fruiting.
- Be patient—mushrooms may take time, but the results are worth it!
Troubleshooting Guide
| Problem | Solution |
| No mycelium growth | Check temperature and substrate moisture levels. |
| Mould contamination | Remove contaminated sections and ensure proper pasteurisation. |
| Fruiting delays | Increase humidity, adjust temperature, and ensure fresh air exchange. |
| Small or malformed mushrooms | Verify substrate nutrients and increase fresh air circulation. |
Quick Tips for Success
- Start small and expand your setup as you gain experience.
- Invest in quality spawn and substrates for reliable results.
- Join an online or local community for support and shared knowledge.
- Experiment with new species and substrates to find what works best for you.
Final Thoughts
The bucket method is one of the easiest and most sustainable ways to grow mushrooms at home. You can enjoy fresh, delicious mushrooms using recycled materials and organic waste while reducing your environmental impact. Whether you’re a beginner or an experienced grower, this method offers a low-cost, eco-friendly solution for producing gourmet mushrooms year-round.
Want to get started? Join our Sustainable Mushroom Cultivation Workshop 🍄✨